A tiny plastic connector might seem like a small part of your car, but a broken one can cause big headaches, from a check engine light to a system that won’t function. The fix is usually straightforward, and you don’t always need a trip to the mechanic.
Check our quick list to find some helpful tips for replacing a broken automotive connector that can get your vehicle’s electronics back in order.
Gather the Right Tools and Parts
Before you start, you’ll need a few items.
A good set of wire strippers, crimpers, and a heat gun are your best friends for this job. You’ll also need the correct replacement connector and terminals, which you can find online or at an auto parts store.
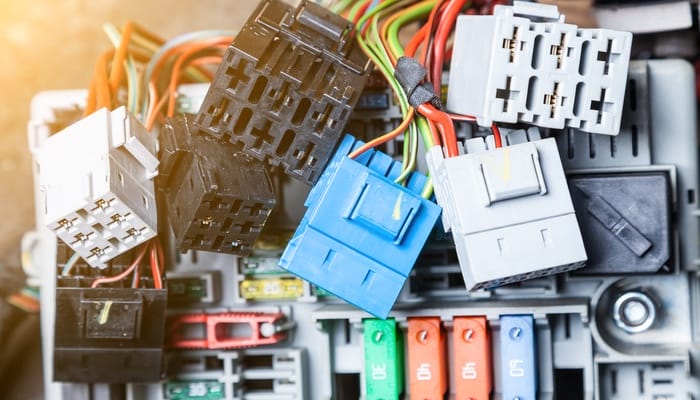
It’s a good idea to have some heat-shrink tubing on hand to protect your new connections from the elements. For example, using heat shrink tubing is one of the most important steps to properly install and seal 5-cavity connectors.
Disconnect the Battery First
Safety should always come first when you work on a vehicle’s electrical system.
Disconnect the negative terminal on your car’s battery before you touch any wires. This step prevents accidental shorts that could damage sensitive electronic components or give you an unexpected jolt.
It’s a simple action that protects both you and your car.
Take a Picture for Reference
Modern car wiring can look like a bowl of colorful spaghetti. Before you cut any wires, take a clear picture of the broken connector with the wires still attached.
This photo becomes your map and shows the correct order for each wire. You can even label the wires with masking tape and a pen to be extra certain everything goes back where it belongs.
Work One Wire at a Time
To avoid confusion, it’s best to work on a single wire from start to finish.
Cut one wire from the old connector, strip a small amount of insulation off the end, and crimp the new terminal onto it. After you confirm the crimp is secure, you can insert it into the new connector housing.
Repeat this process for each wire, which maintains order and reduces the chance of a mistake.
Protect Your Work
Once all the wires are in their new home, your final step is to protect the connection.
If you used heat-shrink tubing, slide it over the repaired area and use a heat gun to seal it. This creates a weatherproof barrier that guards against moisture and corrosion.
With these tips for replacing a broken automotive connector, you’ll have the confidence to tackle this common repair yourself. Leverage the techniques above today to get your ride back up and running again.